

Upgrade Guide
Upgrading to 3.0 from 2.x
Elegant version 3.0 contains a number of enhancements, features, and fixes in this latest major version.
Included in Elegant version 3.0 is the all-new and free Elegant CMS for creating beautiful documentation, blog posts, articles, and anything else you can think of.
With the introduction of Elegant CMS, there are a few breaking changes to the Elegant core project that include a new `_content` for static content, and simplified Markdown loading.
Read the complete announcement here: Upcoming changes to the Elegant Framework in version 3.0.
Upgrade Guide
For a simple upgrade from Elegant version 2 to version 3, we recommend following the steps listed below.
1. Create a Backup
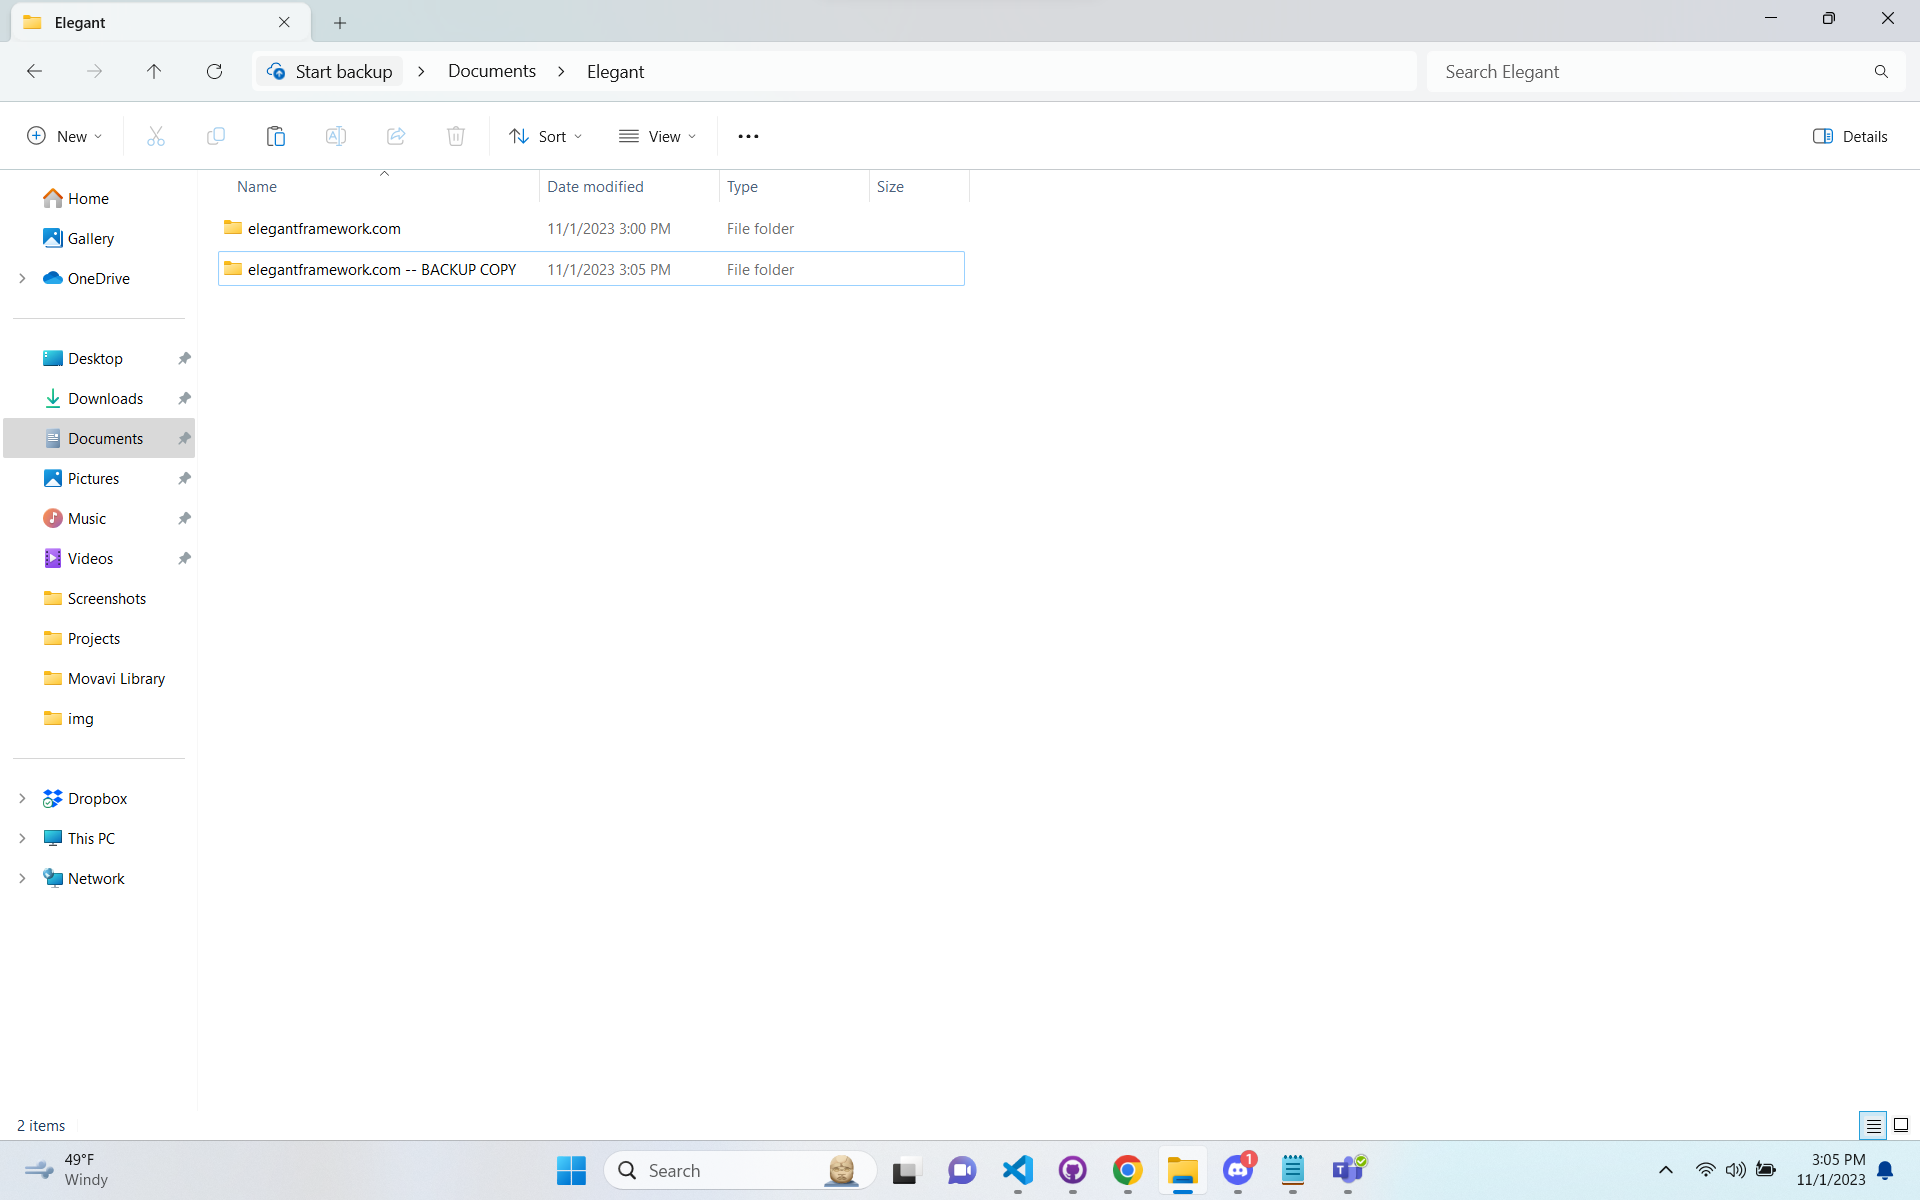
The first step to upgrading to Elegant version 3 is to copy your existing project into another folder for safekeeping.
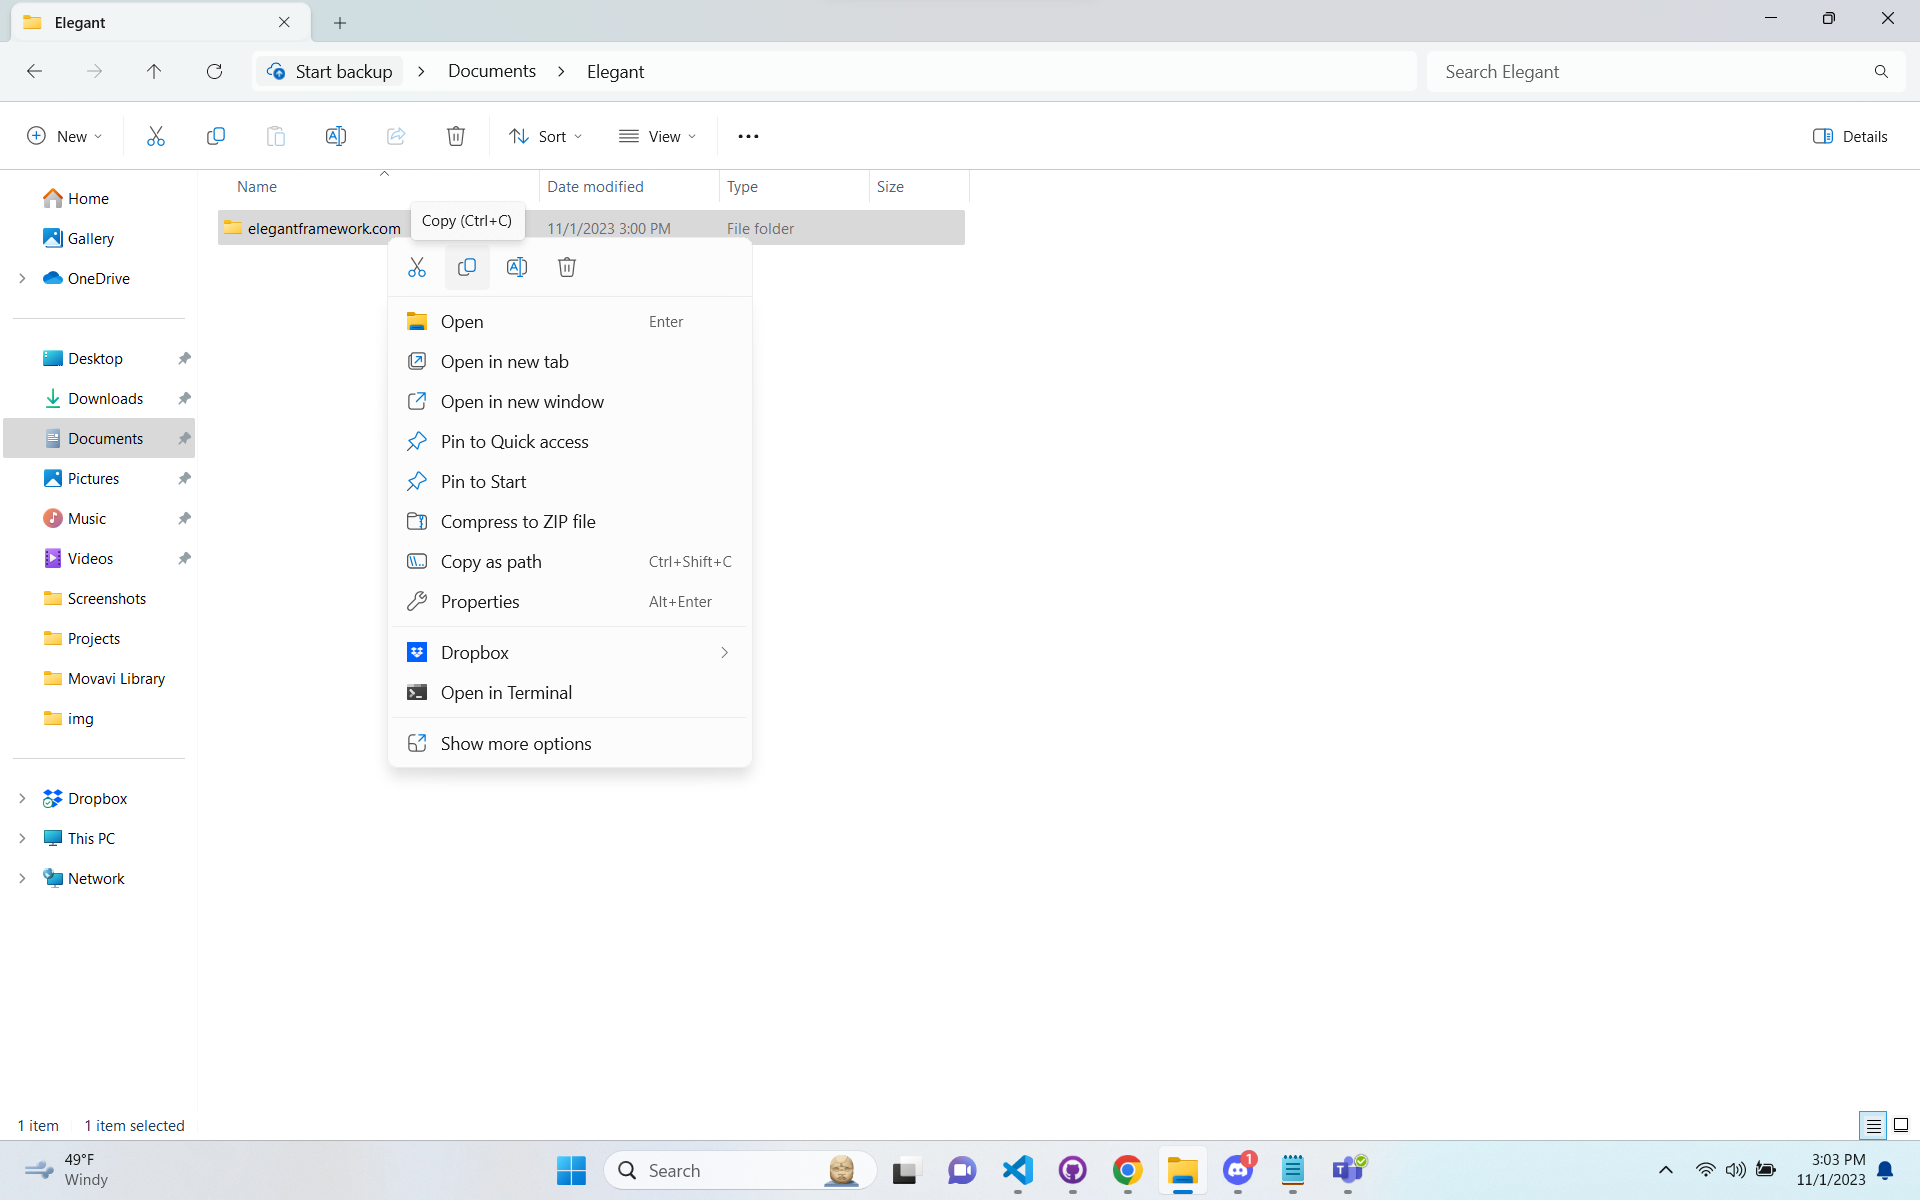
For example, we used elegantframework.com -- BACKUP COPY as the name of our backup copy folder while we upgraded this website to version 3.0.
2. Remove Existing Code
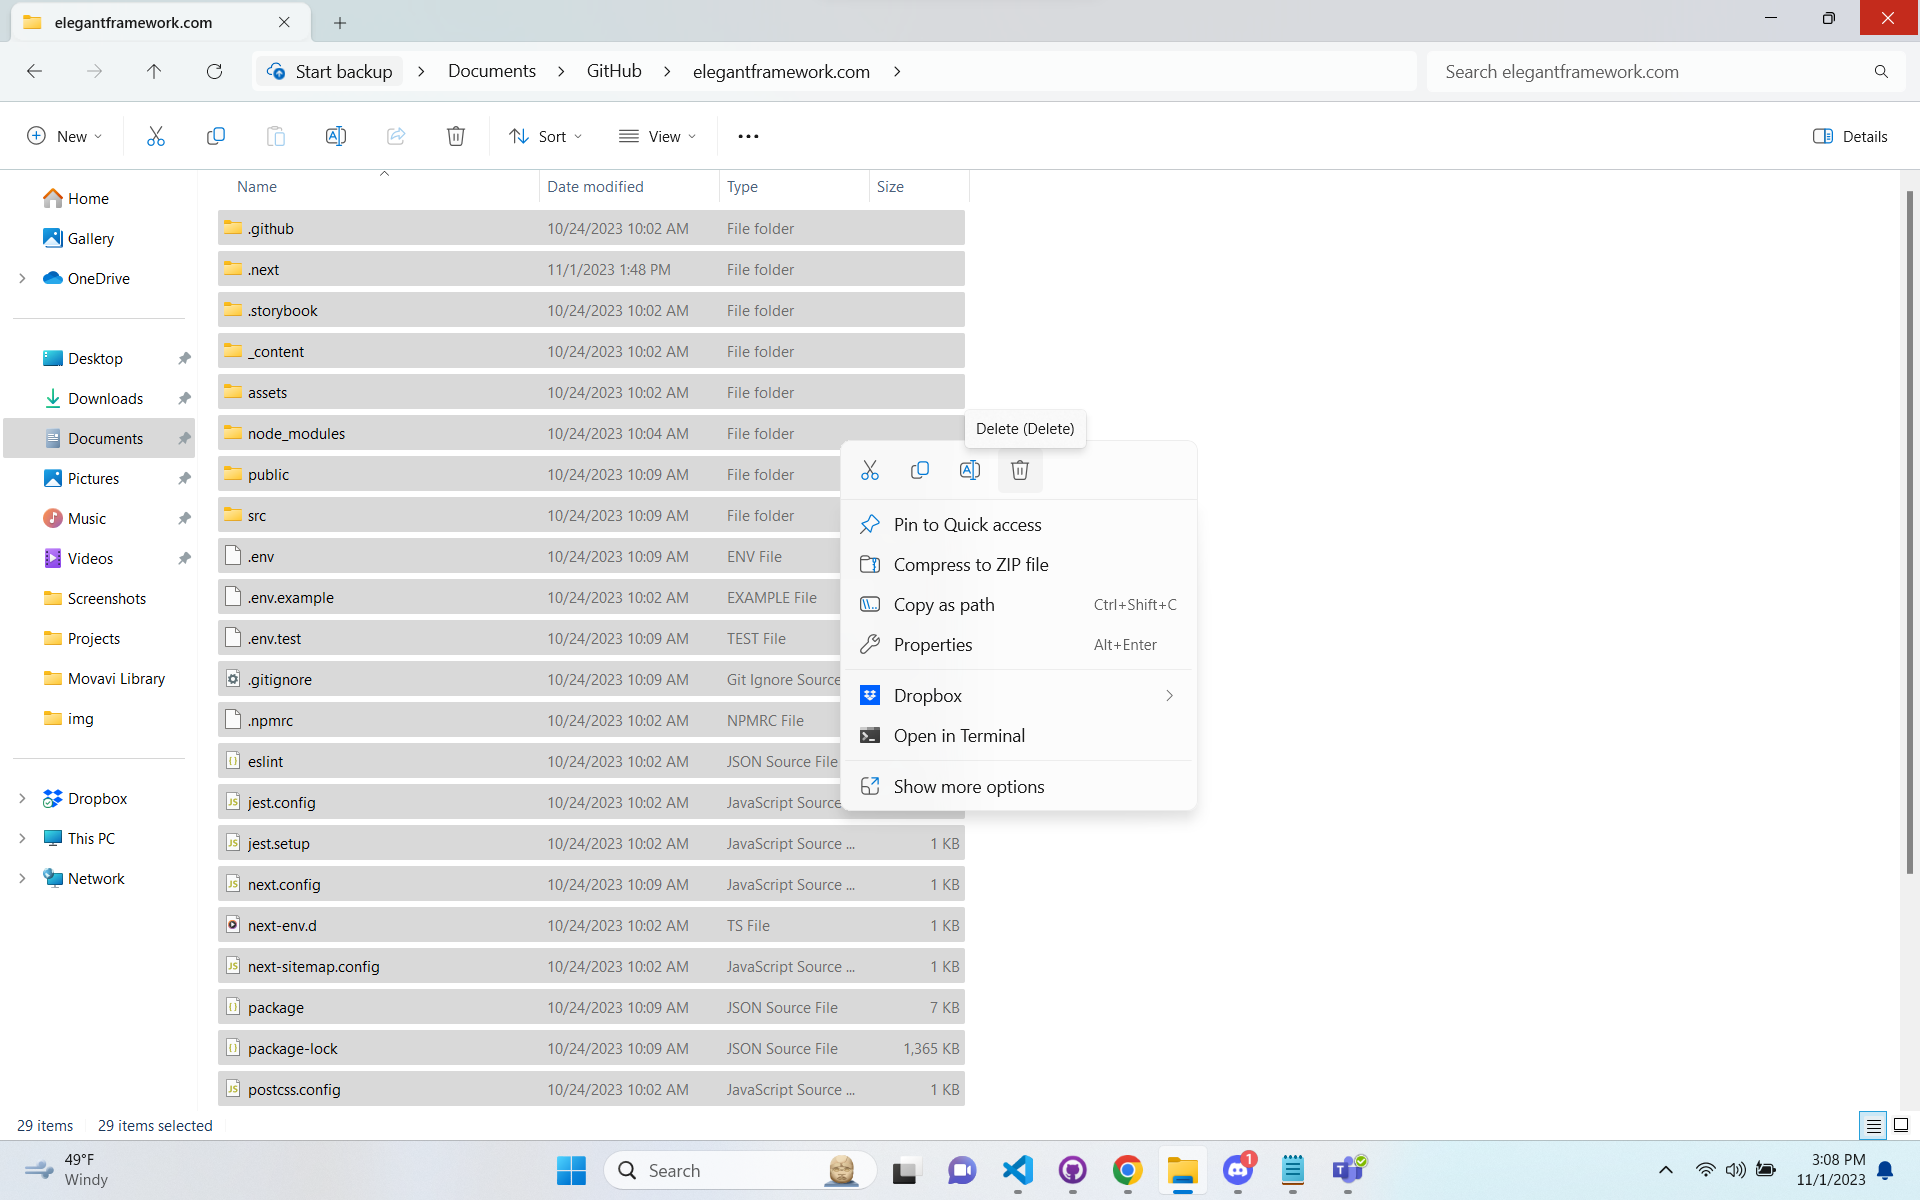
After you have created a backup copy of your current Elegant project, go back to the root level of your project directory, select everything, and delete.
3. Install Latest Version
Once you have deleted your existing project and your project directory is empty, open a terminal in the root of your project, and run the following Elegant-CLI installer commands.
npm install elegant-cli
npx elegant-init
4. Copy Environment Config
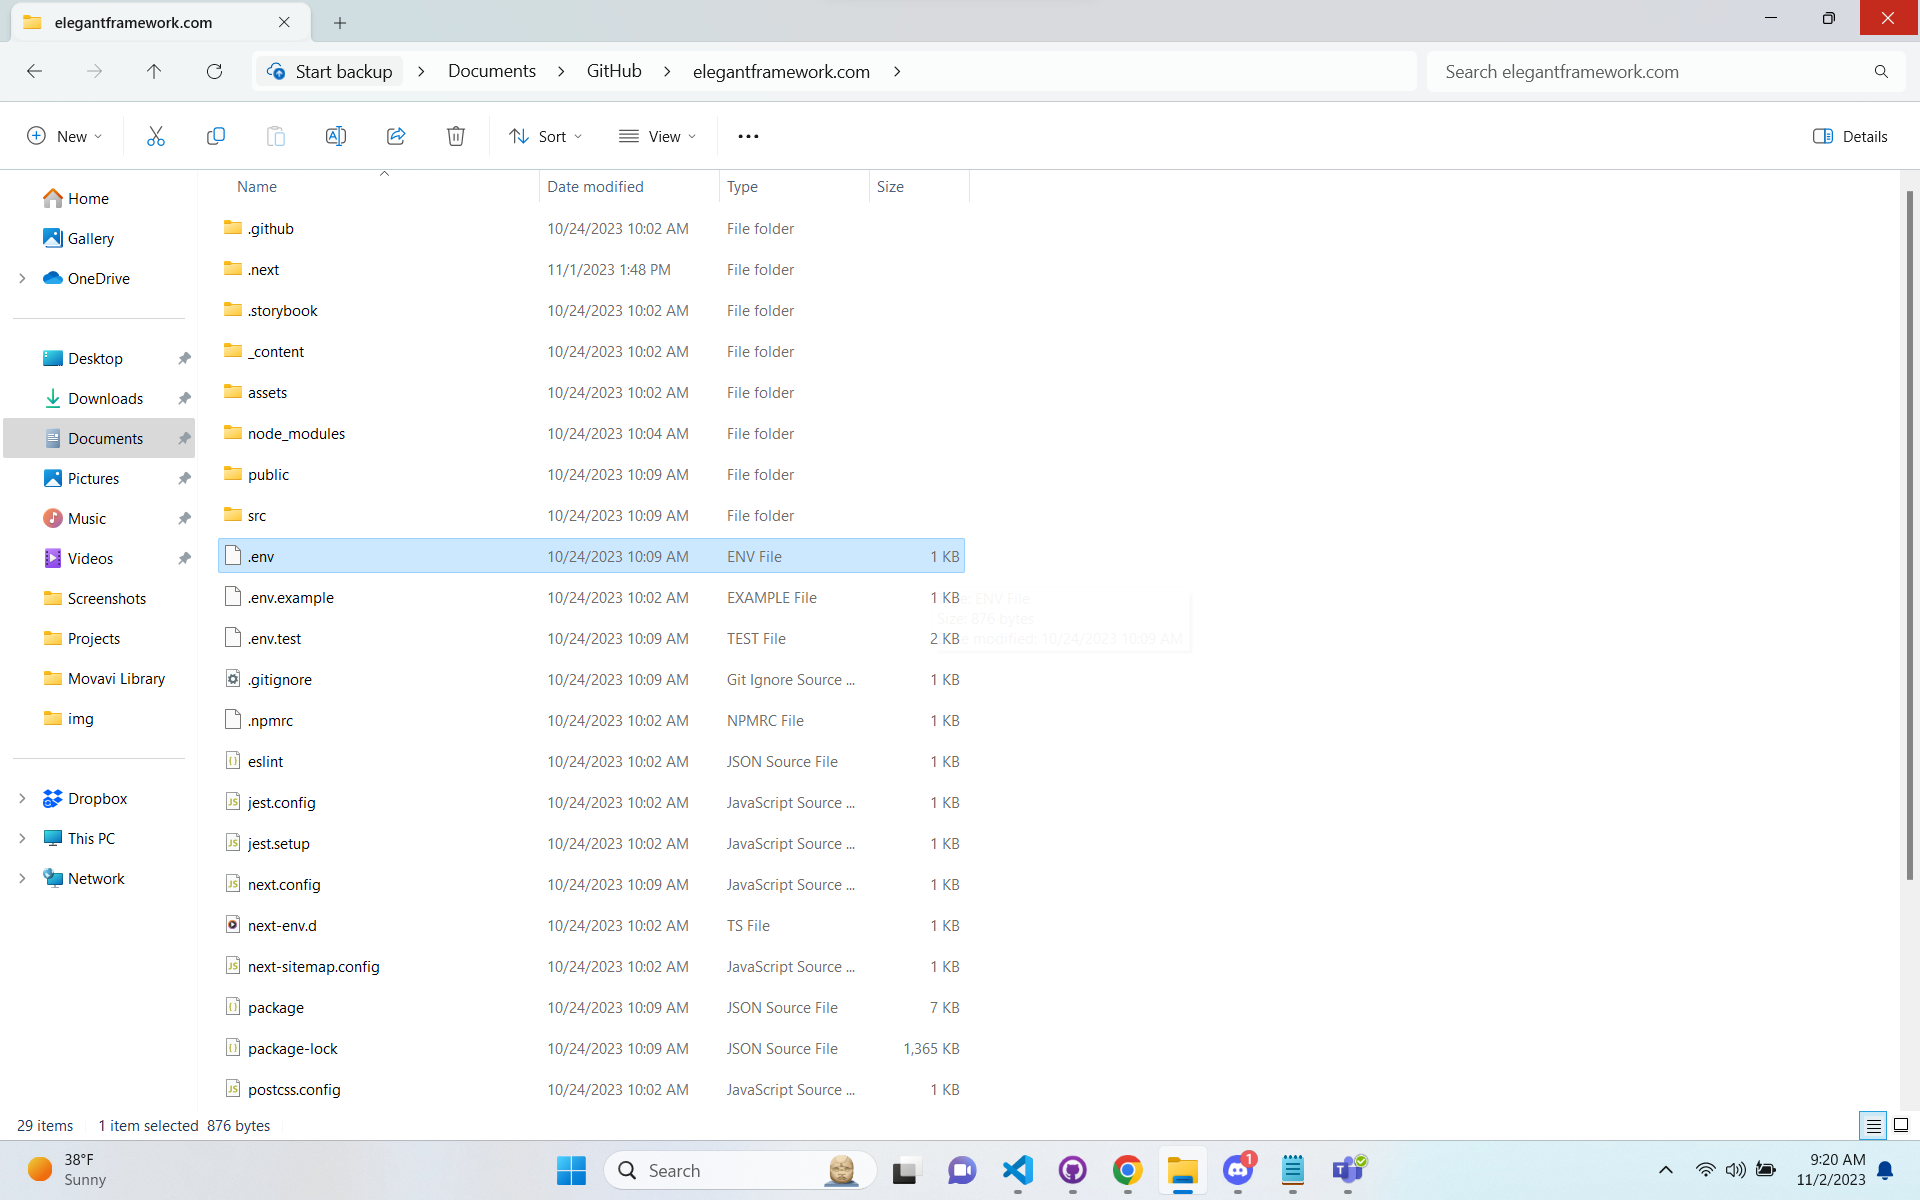
After you have the steps above and installed the latest version of Elegant, the next step is to copy over your .env environment configuration file from your backup copy into the root directory of your project.
5. Copy Configuration
Any changes that have been made to your existing core configuration files should also be copied into your updated project.

6. Copy URL Redirects
If you have configured any URL redirects in your redirects.json file, make sure to also copy over your existing redirects.json configuration file from your backup copy into the root directory of your updated project.
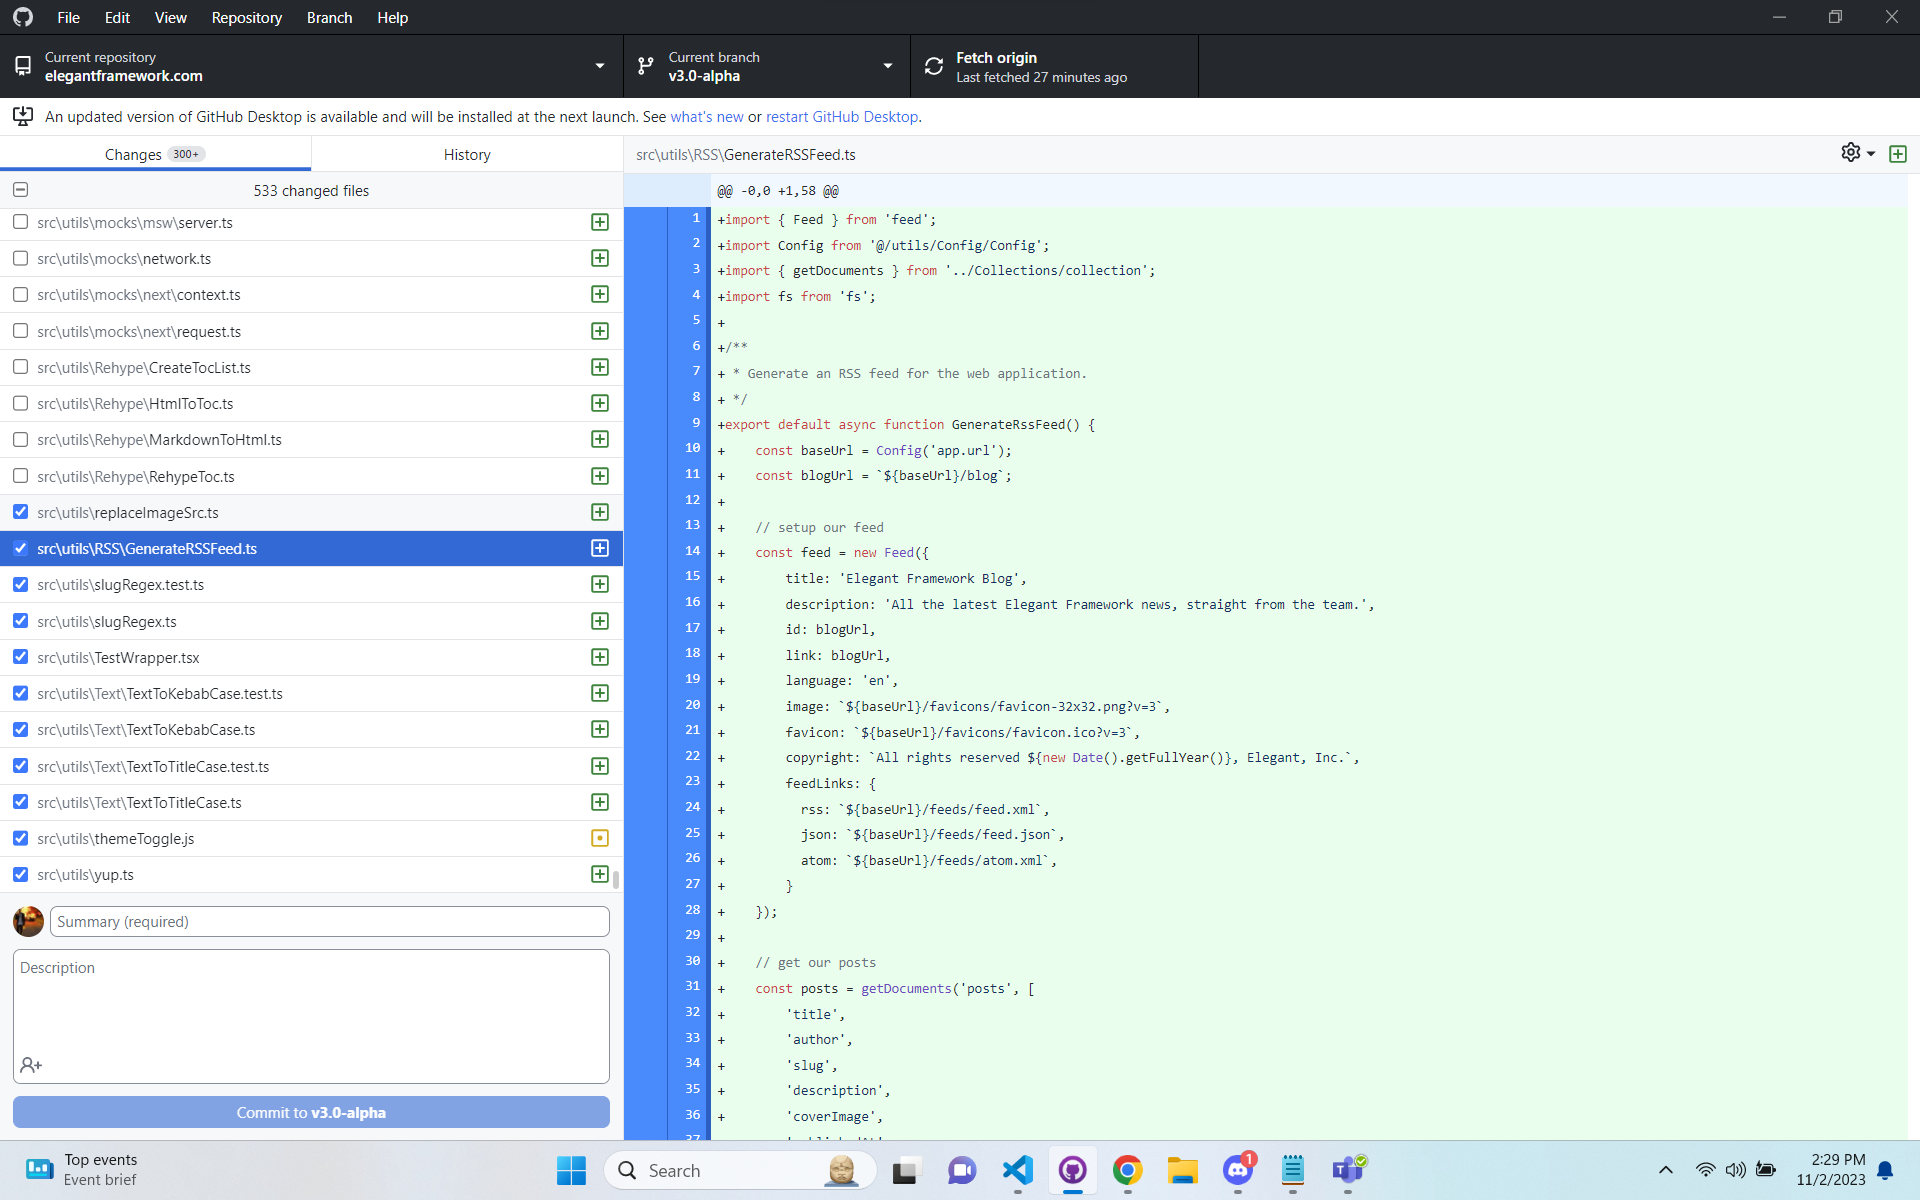
7. Compare Changes with GitHub Desktop
We encourage you to verify the updates and changes that have been made to your Elegant application using the GitHub Desktop client.
Not all of the changes are required for the upgrade, and you can discard any changes to your code that may have been overwritten during the upgrade steps.
8. Run Tests
After completing all of the steps above, you should run the included unit tests package to verify that you have successfully migrated to Elegant version 3.0 without any issues.
npm run test
9. Commit Changes and Cleanup
You can now commit the updated code changes to Git, and safely delete the backup copy of your project that you created at the beginning of this guide.
Elegant CMS
In version 3.0, we have introduced the all new markdown powered and free Elegant CMS.
Elegant CMS comes included in all new installs, and requires a few quick environment variables to be configured.
Read our Getting Started with Elegant CMS guide for more information.
Miscellaneous
We also encourage you to view the changes in the elegantframework/elegant-cli GitHub repository. While many of these changes are not required, you may wish to keep these files in sync with your application.
You can easily view the changes with the GitHub comparison tool and choose which updates are important to you.